Aloe-vera, At a Glance
Scientific name | Aloe barbadensis miller |
Family | Asphodelaceae |
Common names | Aloe, Burn plant, Medicine plant, Miracle plant, First aid plant, Lily of the desert, Elephant’s gall, Wand of Heaven, Barbados aloe, True aloe |
Native | Arabian Peninsula |
Hardiness Zone | USDA zones 9 to 10 |
Caution: Aloe vera plant is toxic to pets.
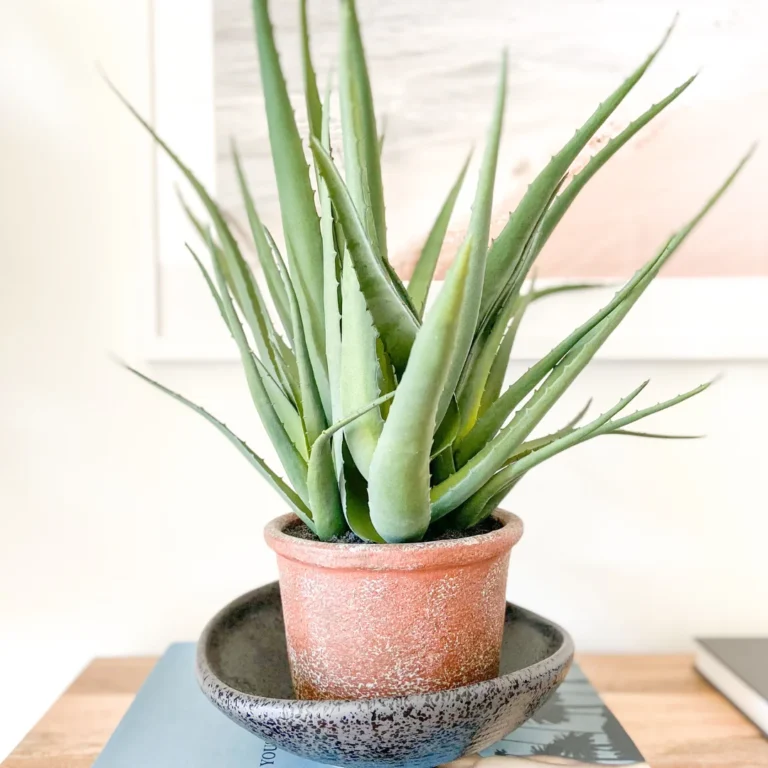
How it Looks
Aloe vera plants have long, thick leaves which grow in a rosette pattern. Aloe Vera leaves contain a gel-like substance that holds water. Usually, aloe vera plants are green, which varies according to the plant’s type and level of sunlight and water. The plant may grow up to 12 to 24 inches if provided with a perfect environment.
Types of Aloe-vera
Aloe vera has 500 different spices; among them, Aloe barbadensis miller is mainly seen. Other commonly seen aloe vera plants are aloe vera var. chinensis, aloe arborescens, aloe ferox, and aloe juvenna.
Aloe Vera Requirements
Requirements for kalanchoe at a glance
Elements | Requirement |
Sunlight | Bright indirect sunlight |
Temperature | 60°F to 75°F |
Humidity | 30-60% |
Soil pH | 6.0-7.0 |
Soil mixture | Well-drained and easy to dry |
Container | Small container with good drainage |
Water | When soil dries out completely |
Fertilizer | Once in a six-month |
Note: Soil pH level indicates how acidic or neutral the soil is. On a scale of 1 to 10, 7 means neutral. A pH value of less than 7 indicates more acidity and a pH of more than 7 indicates more basicity. Aloe vera plants require slightly acidic water to neutralize the soil.
Mix the Soil Properly
A well-drained potting mix is necessary for the aloe vera plant to help avoid waterlogging. Soil mixture for succulents is best for this plant. An ideal soil mixture contains potting soil, perlite, coarse sand, bark chips, or coconut coir.

Choose the Right Container
Aloe vera plants spread their roots, and the roots do not go deeper in the soil. So, choose a planter/container at least 2 inches bigger than the current root size. Don’t choose a big planter because a big planter holds excess soil, which retains excess water, which can lead to root rot. Ensure the container must have drainage holes. Aloe vera doesn’t like soggy soil, so terracotta pots work best for this plant. However, plastic pots also work well if proper water, light, temperature, and humidity are maintained.
How Much Sunlight Aloe-vera Needs
Aloe vera plant requires bright indirect sunlight. It can also tolerate direct sunlight in the morning or afternoon. However, excessive direct sunlight can burn the leaves. So, 2-3 hours of morning/afternoon direct sunlight works best for this plant. Some varieties of aloe vera, such as Aloe arborescens, can tolerate more sunlight. In an indoor environment, try to keep the plant beside a window where the plant gets at least 4-6 hours of bright indirect sunlight throughout the day. If there is no bright light available in the house or in the winter season, grow lights are best. In low light conditions, the plant will survive but not thrive.
When & How to Water
Aloe vera is a succulent and drought-tolerant plant. Overwatering can kill this plant easily. On the other hand, underwatering can cause stunted growth as this is a quick-growing plant. So, water the plant when the top layer of the plant gets very dry. I like to water my aloe vera once every ten days during summer and once a month during winter. When watering, ensure every inch of soil absorbs water. Keep pouring till water comes out of the drainage holes.
Fertilizer for Aloe-vera
Aloe vera plants only require a little fertilizer. Fertilizing once in six months is enough for this plant. A nitrogen-based fertilizer or homemade compost can be provided in its growing period (summer and spring). Avoid putting fertilizer in the plant’s dormant period, winter and fall. Excessive fertilizer can burn the roots, so I recommend not to worry much about fertilizing.
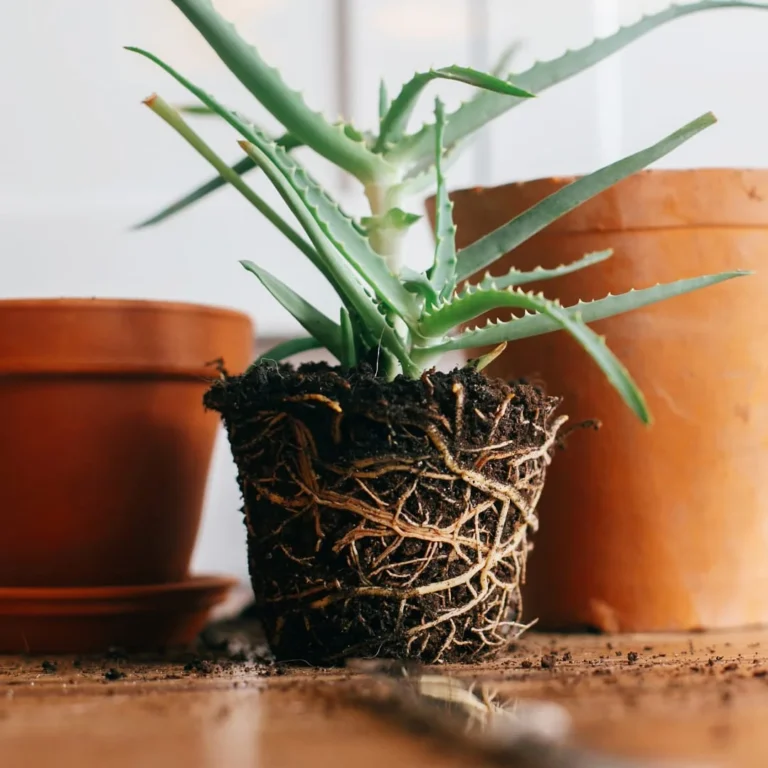
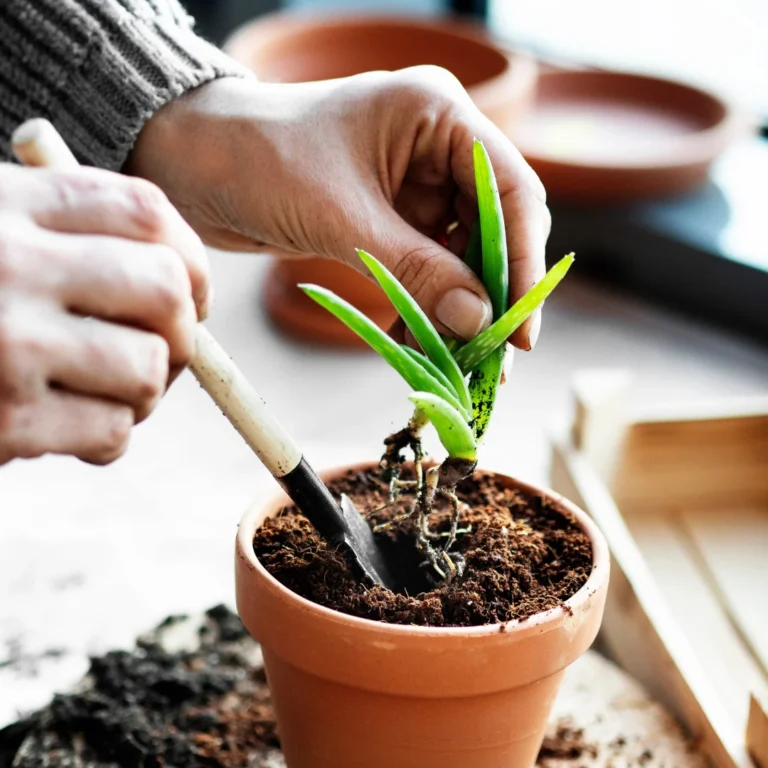
When & How to Re-potting
Repotting means changing the plant’s existing container. Generally, repotting is done after buying a new plant, in case of root-bounding, or when the current potting mix is too old to have sufficient nutrition. In the case of aloe vera, plant repotting is done every 2-3 years. The plant should be repotted when the roots become visible from the top of the soil or the plant’s growth has become stuck. While repotting, gently remove the plant from the existing container with soil using a knife. Pulling the plant without soil is a strict no, no. Inspect the roots for rot or fungal diseases before putting the plant in a new container. Remove the old soil gently and put it in the new container. Fill the container with a new potting mix. Pour an optimal amount of water immediately after repotting (until the water comes out of the drainage hole). After repotting, keep the plant in a stable environment where it gets enough light.
Prune to Thrive Aloe-vera
Aloe vera only requires a little pruning. It needs pruning only when leaves dry or die or become soft or bendy (especially the plant’s lower leaves). Aloe vera produces pups frequently, so removing the pups is necessary for the healthy growth of the mother plant, or else the pups will take all nutrients of the mother plant. So, it’s essential to re-pot the pups in a new container. Sterilize the blade, knife, or scissors before using it.
Protect Aloe-vera from Pests
Aloe vera plants can be attacked by pests in both indoor and outdoor environments. The common pests that may attack the plant are mealybugs, spider mites, aphids, and fungus gnats.
Things to do when seeing any pests:
- Immediately separate the plant from other plants.
- For mealybug, spider mites, and aphids, spray the plant with neem oil or insecticidal soap and wipe the insects.
- In the case of fungus, gnats repot the plant.
Dealing with Other Common Issues
- Yellow and wilting leaves are signs of overwatering and root rot. In this case, immediately repot the plant with a new dry potting mix.
- Leaf drying, shriveled, and discolored leaves are signs of underwatering. The leaves will become soft and bendy (easy to break) in that case.
- Black spots indicate water sitting on the leaves. Like other succulents, aloe vera also requires watering only to the roots, not the leaves. So, avoid watering from the top of the plant.
- Leave browning and shrinking is also a sign of overwatering and excessive sun exposure. In this case, give a plant a good drink and avoid direct sunlight.
- Leaf yellowing can also be a sign of nutrition deficiency. If the plant doesn’t provide fertilizer for a long time, it’s high time to put fertilizer.
Propagation Process of Aloe-vera
Aloe vera plant propagation is an easy process. One must be careful about the season; aloe vera plants must not be propagated in the winter and fall. The propagation process is done in late spring and summer. You can propagate aloe vera plants in three ways.
- Propagating using aloe vera pups or offshoots
- Leaf- cutting
- Using seeds.
From pups or offshoots
- To propagate from offshoots/ pups, first choose a mother plant that has produced several pups.
- Now, carefully remove the plant from the container and separate the pups using a sterilized blade or knife from the mother plant.
- Ensure the pups have roots with them. As mentioned, plant the pups in a new container with soil made explicitly for aloe vera.
- Moisten the soil when necessary and keep it in a bright, indirect light location. Regular care is started once the pups grow, like for adult plants.
Leaf- cutting
- Choose a matured healthy leaf from the mother plant.
- Cut the leaf with a sterilized knife close to the joint of the plant and leaf.
- Put the leaf to dry and callus for two to four days.
- Then, put the leaf in a well-draining soil mix and keep it in a bright place. Moisten the soil when required. Within a few days, new small plants will become visible.
Using aloe vera seeds
Propagating using aloe vera seeds is rare as it is a lengthy process. It takes much time to get aloe vera seeds from a mature plant.
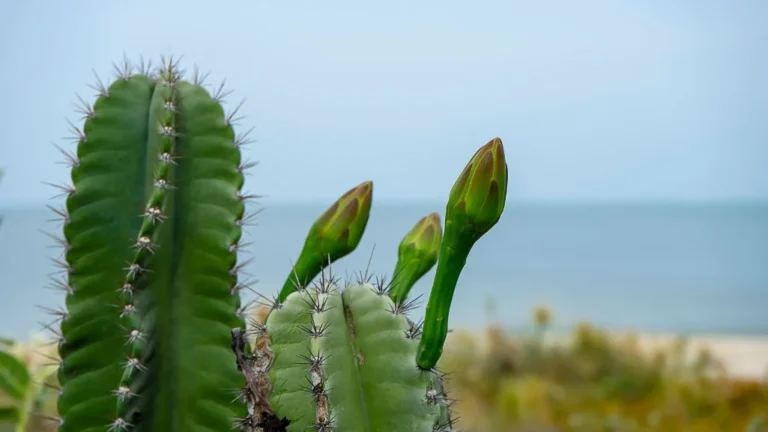
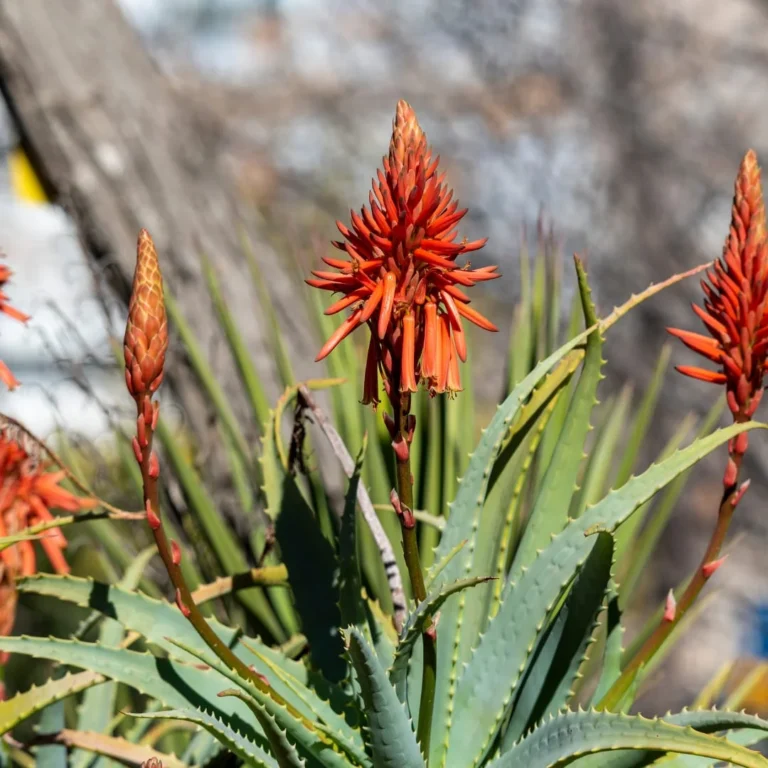
- Aloe vera plants flower when they mature, and seeds are collected from these flowers.
- After collecting aloe vera seeds from their flower, put them in well-drained soil.
- Keep the soil moist consistently but not soggy. Once the seeds germinate, new plants will become visible.

Tips to grow aloe-vera faster
- Lose the top layer of the soil for good aeration and do regular weeding.
- Pruning some of its leaves from the bottom layer of the plant accelerates growth.
- Remove the pups once they develop roots and place them in a new pot. This will help the mother plant to thrive, as baby plants absorb nutrition from the soil, making the mother plant nutrition deficient.