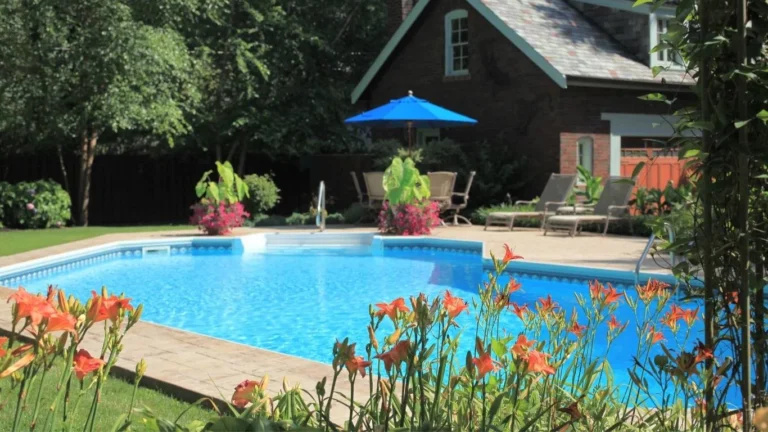

If you want to make your vinyl fence look more lively and beautiful, adding plants is a great way to do it. I’ve done this myself, and it completely changed the look and feel of my backyard. Plants not only make the fence look softer and more natural but also create a calm, relaxing space that feels like a little escape.
When I first started, I wasn’t sure what plants would work best or how to care for them. But after trying a few things and learning along the way, I found some great ideas that really worked. For example, climbing plants like morning glories or trumpet vines can cover the fence and make it look lush, while colorful flowers or small shrubs add pops of color.
In this guide, I’ll walk you through the whole process step by step. I’ll share tips on choosing the right plants based on how much sunlight your yard gets, how to plant them, and how to keep them looking great. I’ll also tell you about some of my own experiences; for example, when I planted sunflowers along my fence, they grew so tall they became the talk of the neighborhood! By the end, you’ll have everything you need to turn your fence into a beautiful, nature-filled part of your yard.
Step 1: Visualize and Plan Your Design
Before you start planting, take some time to imagine how you want your fence to look. Picture it in your mind: do you see a colorful burst of flowers climbing the fence, a neat and lush green wall, or maybe a mix of both? Having a clear vision helps you choose the right plants and decide where to place them.
For example, if you want a floral explosion, think about climbing roses, clematis, or vibrant flowering vines like morning glories. For a sleek green backdrop, evergreen shrubs or ivy might be a better choice. If you love variety, consider combining both styles by planting vibrant flowers in some areas and green foliage in others.
Sketching your ideas on paper or using simple garden design apps can also be helpful. This step will save you time and ensure your fence becomes exactly what you’ve envisioned—an eye-catching feature that reflects your personal style.”
Pro Tip
Take a stroll around your garden at different times of the day. Observe how the sunlight interacts with your fence and note shady or sunny areas. This will help you pick the right plants for each section.
Step 2: Choose the Right Plants
Picking the right plants is super important to make your fence look amazing. Not all plants grow well in the same conditions, and since vinyl fences have smooth surfaces, some plants work better than others.
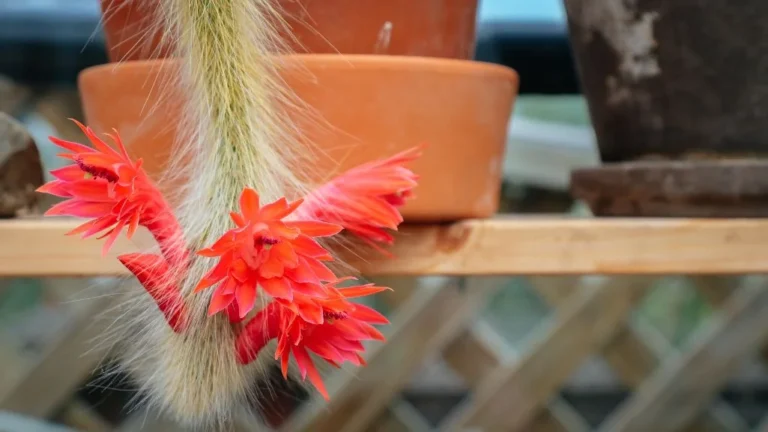
- If your fence gets a lot of sunlight, go for plants that love the sun, like morning glories, trumpet vines, or sunflowers. If it’s in a shady spot, plants like ivy, climbing hydrangeas, or ferns are great choices. Plants like clematis or passionflower are also perfect because they naturally climb with little help, especially if you add a trellis or some support.
- Think about your soil and climate, too. If you live in a dry area, plants like bougainvillea can handle the heat. For wetter, humid spots, jasmine grows really well. You can also mix things up; combine colorful flowers with evergreen shrubs or grasses for a look that’s pretty and easy to take care of.
Climbers
Climbers add vertical interest to your garden, making your fence look like a lush, living wall. They’re great for creating privacy, adding color, and covering an otherwise plain fence.
My Top Picks for Climbers
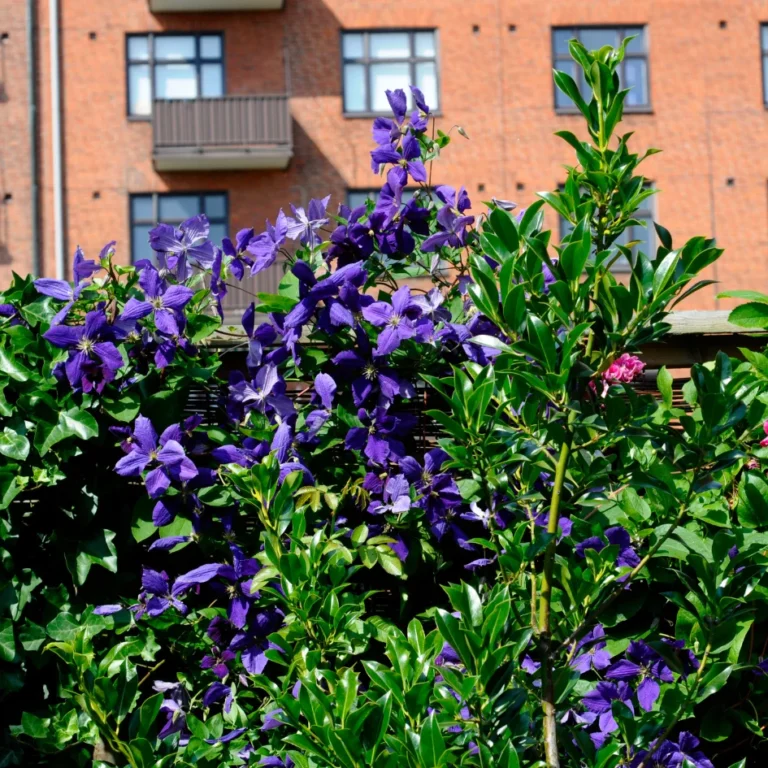
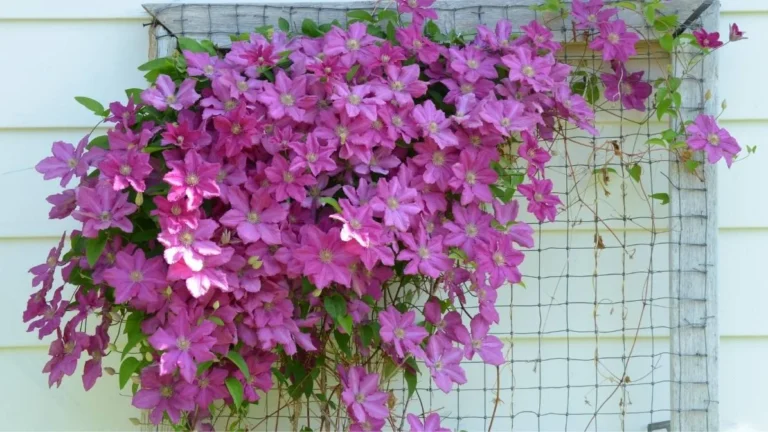
Clematis
Known for its stunning blooms, clematis thrives in full sun or partial shade and is perfect for adding vibrant colors to your fence.
Climbing Roses
These bring a romantic, classic feel to any garden, with fragrant flowers that bloom from spring to fall.


Wisteria
Known for its cascading clusters of flowers in spring, wisteria is a dramatic addition to any garden.
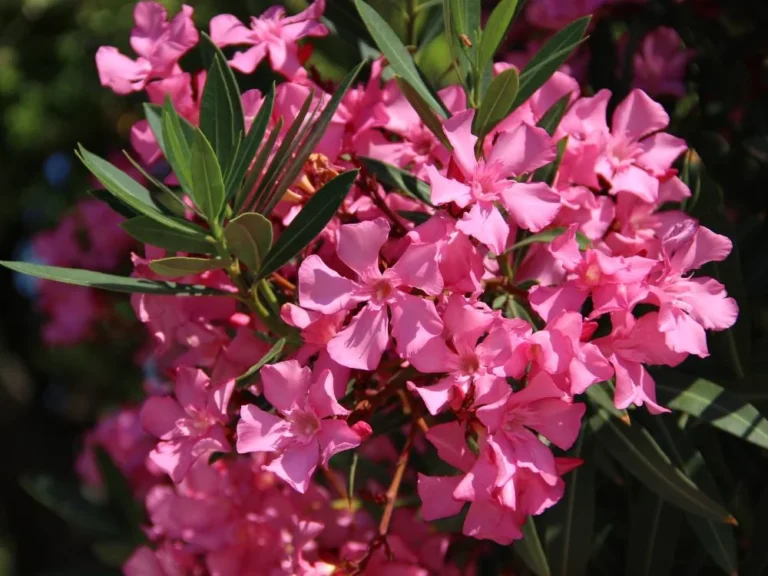
Jasmine
Adds both beauty and fragrance, with delicate white or yellow flowers that bloom in warmer weather.

Know about more Pet-Friendly Outdoor Climbing Plants
Bushes and Shrubs
Bushes and shrubs planted at the base of your fence provide structure, depth, and texture. They also offer seasonal interest, from flowers to vibrant foliage.
My Favorite

Hydrangeas
Their large, colorful blooms brighten up the garden, and they thrive in partial shade. Hydrangeas can also be pruned to control their size.
Lilacs
Known for their fragrant spring blooms, lilacs add color and a pleasant aroma to your fence line.

Ornamental Grasses
Ornamental grasses bring movement, texture, and a modern look to your garden. They sway in the wind and add a natural feel, even in more formal garden settings.

Maiden Grass
Known for its tall, feathery blooms and graceful form, it’s perfect for a striking vertical accent along your fence.
Pampas Grass
Large and dramatic, pampas grass can add height and texture to the back of your garden, though it needs more space to grow.

Ground Covers
Ground covers are excellent for filling in gaps, suppressing weeds, and preventing soil erosion. They help keep the area around the base of the fence looking neat and uniform.
Creeping Thyme
A fragrant, low-growing herb that spreads quickly and can handle foot traffic, making it a great ground cover.


Hostas
Shade-loving perennials with lush foliage and various textures, perfect for the cooler, shaded areas at the base of your fence.
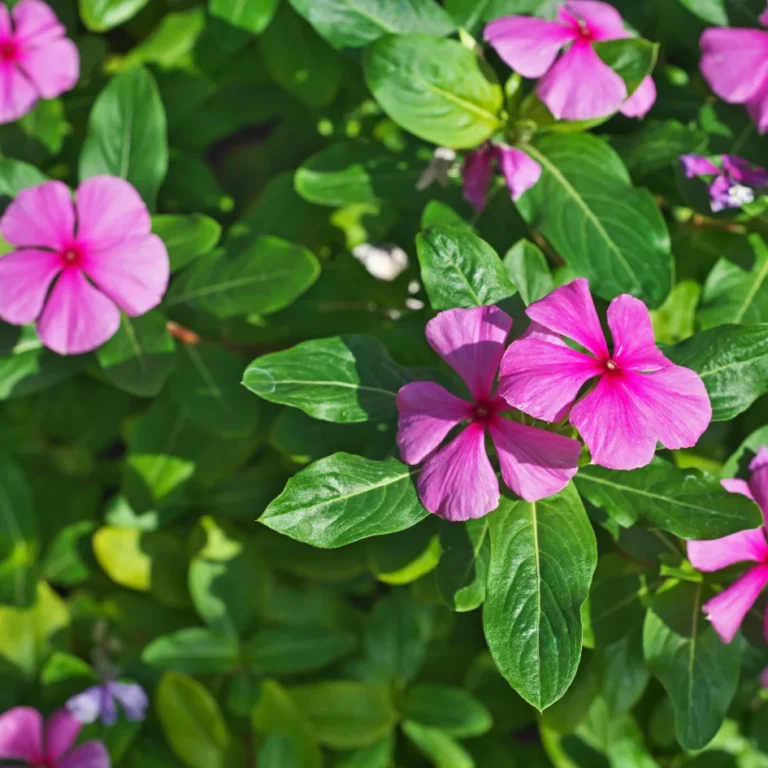
Vinca Minor (Periwinkle)
This fast-spreading ground cover produces blue or purple flowers in the spring and thrives in both sun and partial shade.
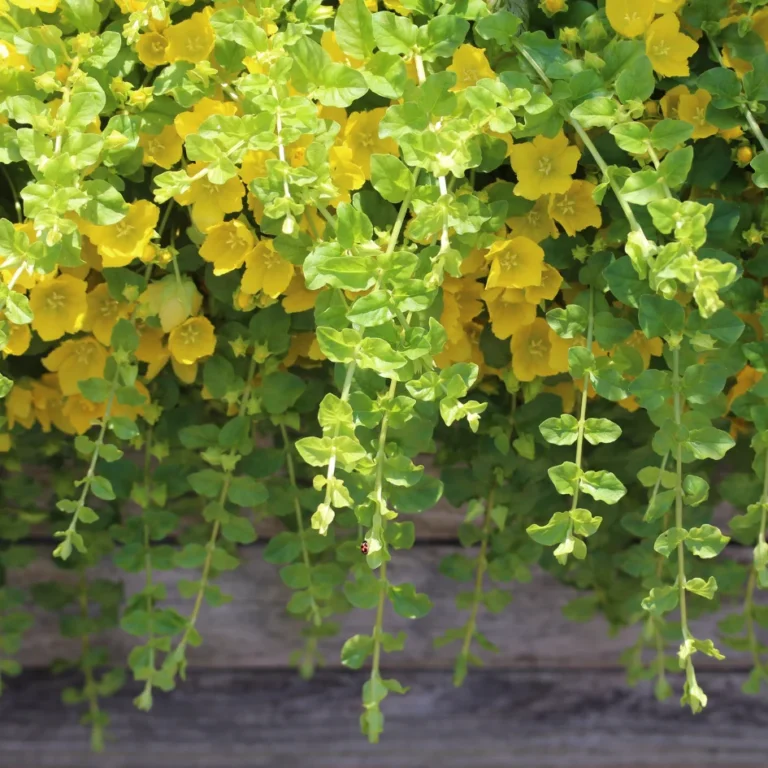
Creeping Jenny
A bright green ground cover that spreads quickly and can also tolerate shade, ideal for filling in gaps near the fence.
Ajuga (Bugleweed)
A fast-growing ground cover with beautiful foliage and spikes of blue flowers in spring, perfect for shade or partial sun.

By mixing and matching these plant options, you can create a diverse and beautiful garden along your vinyl fence. Each plant brings its own unique beauty, texture, and function, ensuring your garden looks stunning year-round.
Personal Note
I once planted jasmine along a west-facing vinyl fence. The fragrance it released in the evenings was magical, making the garden my favorite spot to unwind.
Step 3: Prepare the Soil
Healthy soil is key to helping your plants grow strong and beautiful. Here’s how to get your soil ready the right way:
Steps
1. Clear the Area
Start by removing any weeds, rocks, or debris from the spot where you’ll be planting. This gives your plants a clean space to grow without competition.
2. Test the Soil
Use a simple soil test kit (available at garden centers or online) to check the pH and nutrient levels. Most plants do best in soil with a pH between 6.0 and 7.0, which is slightly acidic to neutral. If your soil is too acidic or alkaline, you can adjust it with additives like lime or sulfur.
3. Enrich the Soil
Mix in organic compost to make the soil more fertile and improve its drainage. Compost adds nutrients and creates a fluffy texture that roots love. If your soil is heavy clay or very sandy, compost helps balance it out.
4. Level the Ground
Make sure the soil surface is smooth and even. It should slope slightly away from the fence to prevent water from pooling around your plants, which could lead to root rot.
Taking these steps will create a healthy foundation, giving your plants the best chance to thrive and make your fence area look stunning.
Step 4: Set Up Supports for Climbers
Since vinyl fences are smooth, climbing plants will need a little help to grow upward. Setting up supports makes it easier for them to latch on and create that lush, green look you’re aiming for.

Support Options
Trellises
Attach wooden or metal trellises to your fence using brackets or screws. These are sturdy and look great as a decorative feature, giving your plants plenty of space to climb.
Wire Mesh
Install lightweight wire mesh or garden netting across your fence. It’s a simple and affordable option that works well for vines like morning glories or clematis. Secure it with small hooks or zip ties to avoid damaging the fence.
Plant Clips or Soft Ties
For plants that need a little guidance, use soft plant ties or clips to secure their stems to the support system. These are gentle on both the plants and your fence, making them a practical choice for training growth without causing harm.
By adding one of these supports, you’ll help your climbers grow strong and healthy while keeping your vinyl fence protected and looking great.
DIY Tip
I once crafted a trellis using leftover bamboo sticks and garden twine. It was sturdy, eco-friendly, and blended beautifully with the garden.
Step 5: Spacing and Planting
Proper Spacing for Healthy Growth
Giving your plants enough space to grow ensures they stay healthy, vibrant, and don’t compete for resources like sunlight, water, or nutrients.
Spacing Guidelines
- Climbers: Space them 18–24 inches apart to allow room for vines to spread without tangling.
- Bushes: Leave 2–3 feet between shrubs so they have plenty of space to grow to their full size.
- Ground Covers: Plant these 6–12 inches apart to create a dense, lush layer quickly.
Planting Steps
- Dig the Hole
Make a hole twice as wide and just as deep as the plant’s root ball. This gives the roots plenty of loose soil to grow into. - Place the Plant
Carefully place the plant in the hole. Make sure the top of the root ball is level with the soil surface. This prevents the plant from being buried too deeply, which can cause rot. - Backfill and Water
Fill the hole with the soil you dug out, pressing it gently around the roots to remove air pockets. Then, water the plant thoroughly to help settle the soil and keep the roots hydrated.
Following these steps will help your plants grow strong and healthy, creating a beautiful and thriving garden along your fence.
Personal Insight
When I planted hydrangeas along my fence, I initially underestimated their spread. Giving them enough room early on saved me from transplanting later.
Step 6: Watering and Irrigation
Proper watering is key to helping your plants thrive, especially when they’re just getting established. There are some techniques that help to do it effectively, such as drip irrigation and mulching.
I prefer mulching as I’ve found that adding a layer of mulch not only keeps the soil moist but also saves a ton of time on weeding.
Techniques
- Drip Irrigation
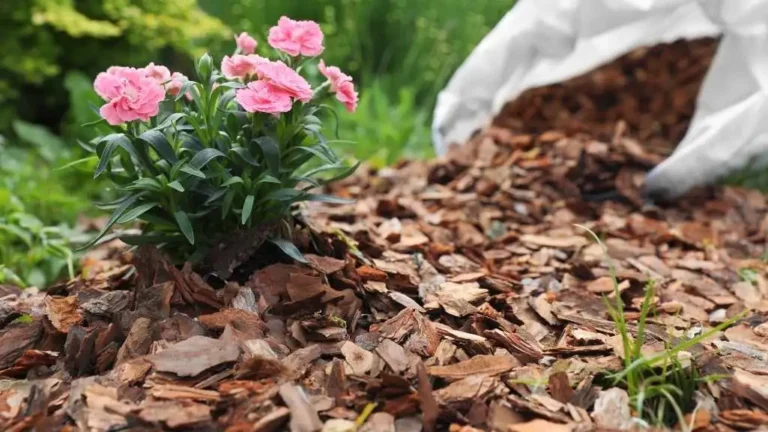
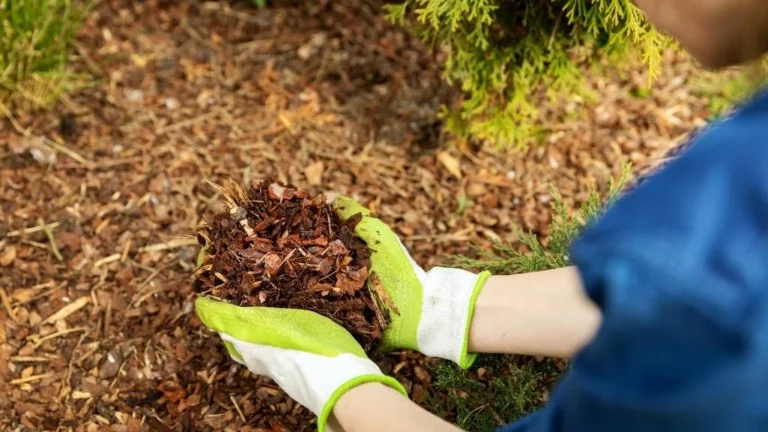
A drip irrigation system is perfect for delivering water directly to the roots without splashing water on your vinyl fence. It’s efficient and reduces water waste. - Mulching
Spread a 2-inch layer of organic mulch, like wood chips or straw, around the base of your plants. Mulch helps the soil retain moisture, keeps roots cool, and prevents weeds from taking over.
By keeping your plants properly watered and mulched, you’ll create the ideal conditions for them to grow healthy and strong while protecting your fence and conserving water.
When I started mulching, I used plain wood chips, but over time, I switched to shredded bark because it breaks down slower and looks neater. If you’re using drip irrigation, run the lines under the mulch; it keeps the water lines hidden and prevents them from drying out in the sun.
Step 7: Sunlight and Shade Considerations
Your fence can create different light conditions throughout the day, from sunny spots to shaded areas. Choosing plants that thrive in these conditions ensures a healthy and vibrant garden.
For Sunny Areas
Plants that love full sun will flourish in bright spots along your fence. Here are a few great options:
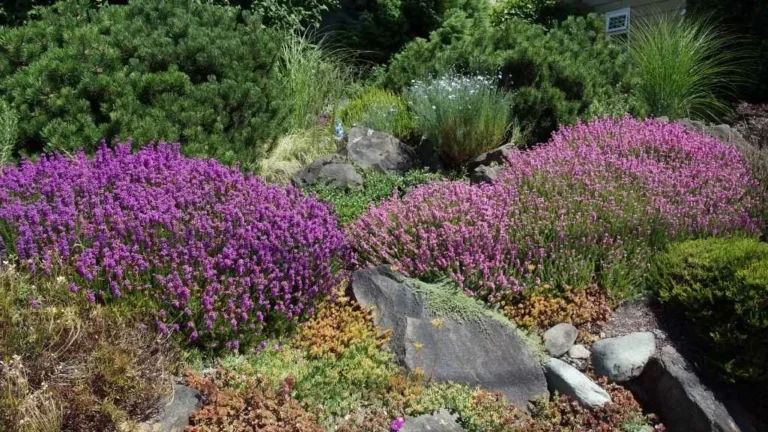
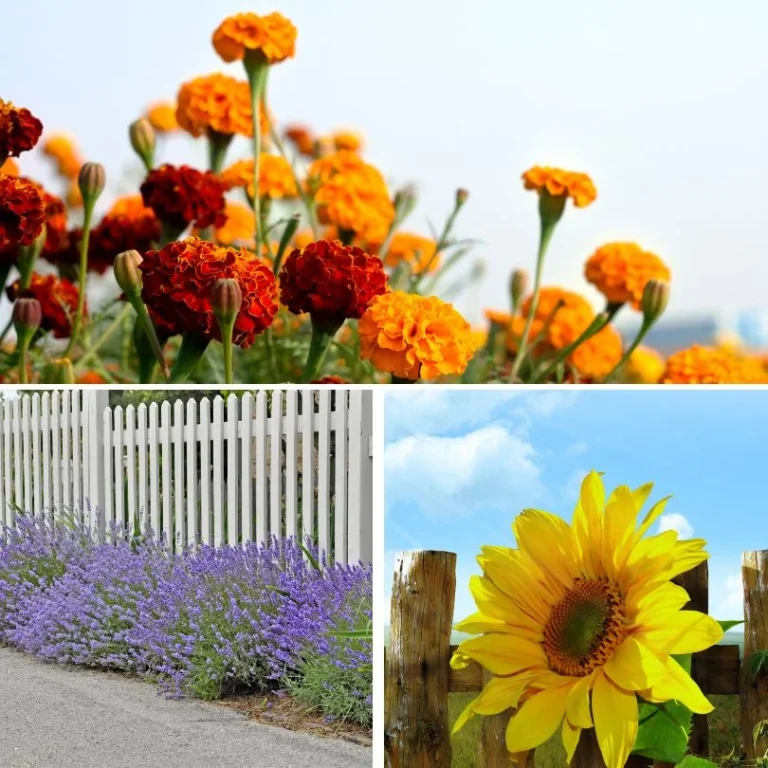
- Sunflowers: Tall and cheerful, these add height and a sunny vibe.
- Marigolds: Bright and hardy, they repel pests and bring bold colors.
- Lavender: Beautiful and fragrant, it’s perfect for sunny, dry areas.

For Shady Areas
In areas where the fence blocks sunlight, choose shade-loving plants:
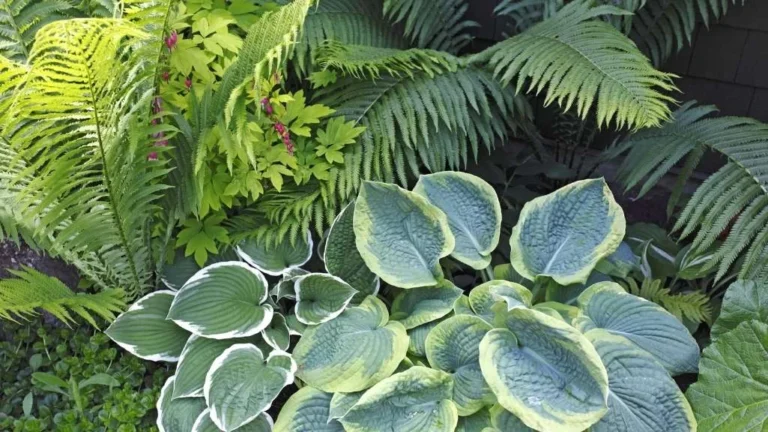
- Ferns: Their lush, feathery foliage thrives in low light.
- Hostas: These come in a variety of leaf colors and add texture to shady spots.
- Impatiens: These colorful flowers brighten up any shaded area.
Tip
Observe how the light moves along your fence throughout the day before planting. This will help you place the right plants in the right spots, ensuring they all thrive beautifully.
Step 8: Maintenance and Care
Regular maintenance is key to keeping your fence garden healthy and looking great. Here’s what you need to do:
Tasks
Pruning
Trim your plants regularly to encourage healthy growth and prevent them from getting too heavy or tangled on the fence. Remove dead or damaged leaves and flowers to keep everything tidy.
Cleaning the Fence
Wipe down your vinyl fence with a soft cloth and a mild soap solution to remove dirt, plant sap, or stains. This keeps your fence looking fresh and prevents discoloration over time.
Fertilizing
Feed your plants with a balanced fertilizer every 6–8 weeks during the growing season. This ensures they get the nutrients needed to stay lush and vibrant.
Caution
Check on your plants and fence weekly to catch any issues early, like pests, diseases, or buildup on the vinyl.
Step 9: Winterizing Your Plants
Preparing your plants for the colder months is essential to ensure they come back strong in the spring. Here’s how to winterize your fence garden:
Steps
Prune Dead or Damaged Growth
Cut back any dead or damaged stems and leaves. This not only improves the plant’s appearance but also prevents diseases from spreading over the winter.
Add Mulch
Spread a thick layer of mulch (about 2–4 inches) around the base of your plants. Mulch helps insulate the roots, keeping them protected from freezing temperatures.
Cover Tender Perennials
If you have plants that are sensitive to cold, like certain perennials or climbing plants, cover them with burlap or frost cloth. This adds an extra layer of protection against harsh winter weather.
Step 10: Add Personal Touches
Make your vinyl fence garden stand out and reflect your style by incorporating a few creative elements. Here are some fun ideas to add character and charm:
Ideas
Hanging Planters
Attach colorful hanging planters or small baskets filled with trailing plants or flowers to the fence. They add a pop of color and extra greenery at different heights, creating visual interest.
Lighting
Install string lights, fairy lights, or solar lanterns along the fence to create a cozy, magical ambiance in the evening. The soft glow will make your garden feel like a special retreat once the sun goes down.
Decorative Accents
Add personal touches like vintage garden tools, a rustic birdhouse, or colorful ceramic pots. These simple items bring charm and character to your garden, making it feel unique and inviting.
Step 11: Monitor and Adjust
Your garden will change over time, and your fence plants will evolve along with the seasons. It’s important to regularly check on them and make adjustments to keep everything thriving.
Keep an eye
Observe Growth
At the start of each season, take a moment to see how your plants are doing. Are any plants getting too crowded? Is something not growing as well as you hoped?
Adjust Spacing
If plants are too close together or need more sunlight, consider moving them around to give them room to grow.
Trim and Prune
Regularly prune plants that are overgrowing or becoming too unruly. This keeps them healthy and helps maintain the look you want.
Personal Tip
I like to take a few notes in the spring to remember what worked well last year and what didn’t. It’s also fun to try adding new plants and see how they fit in as the garden changes.
Growing plants along a vinyl fence is a great way to enhance your outdoor space. By following these steps and adding your own touch, you can turn your fence into a beautiful garden. Gardening is a process, so take your time and enjoy the progress!
If you have any questions or want to share your own gardening experiences, leave a comment below. Let’s learn and grow together!